Avalon Hill Squad Leader: There’s More to Scenario 1 Than I Thought
This is adapted from the script of Episode 97, “Sykes-Picot Plays With Colonial History (And Dry-Erase Markers)”
With a couple early wins — one as the Germans and one as the Russians — I arrogantly assumed that Scenario 1: The Guards Counterattack from Avalon Hill’s Squad Leader had shown us everything it had.
But a fateful die roll showed me I was wrong. I was pushing to move ahead to Scenario 2, which adds deadlier support weapons, a bigger battleground, and other wrinkles. Noisy Andrew rolled a die to determine if we replayed Scenario 1 or moved on. We stayed in the training dojo.
Avalon Hill Squad Leader Scenario 1 - The Guards Counterattack: The Guards are about to do some dumb shit
To keep myself entertained — it was my turn to be the Russians again — I did a bit of meta-roleplaying. What if I discarded my usual mindset?
I’m a naturally cautious player who wants to take risks only at the edges. I get anxious at the thought of wagering the big stacks on the table. But this time I decided to start throwing haymakers the first chance I got. Oh, my. A different game appeared. The usual simmer of ranged exchanges and late rushes turned into a rolling boil of wild scenes and tough calls.
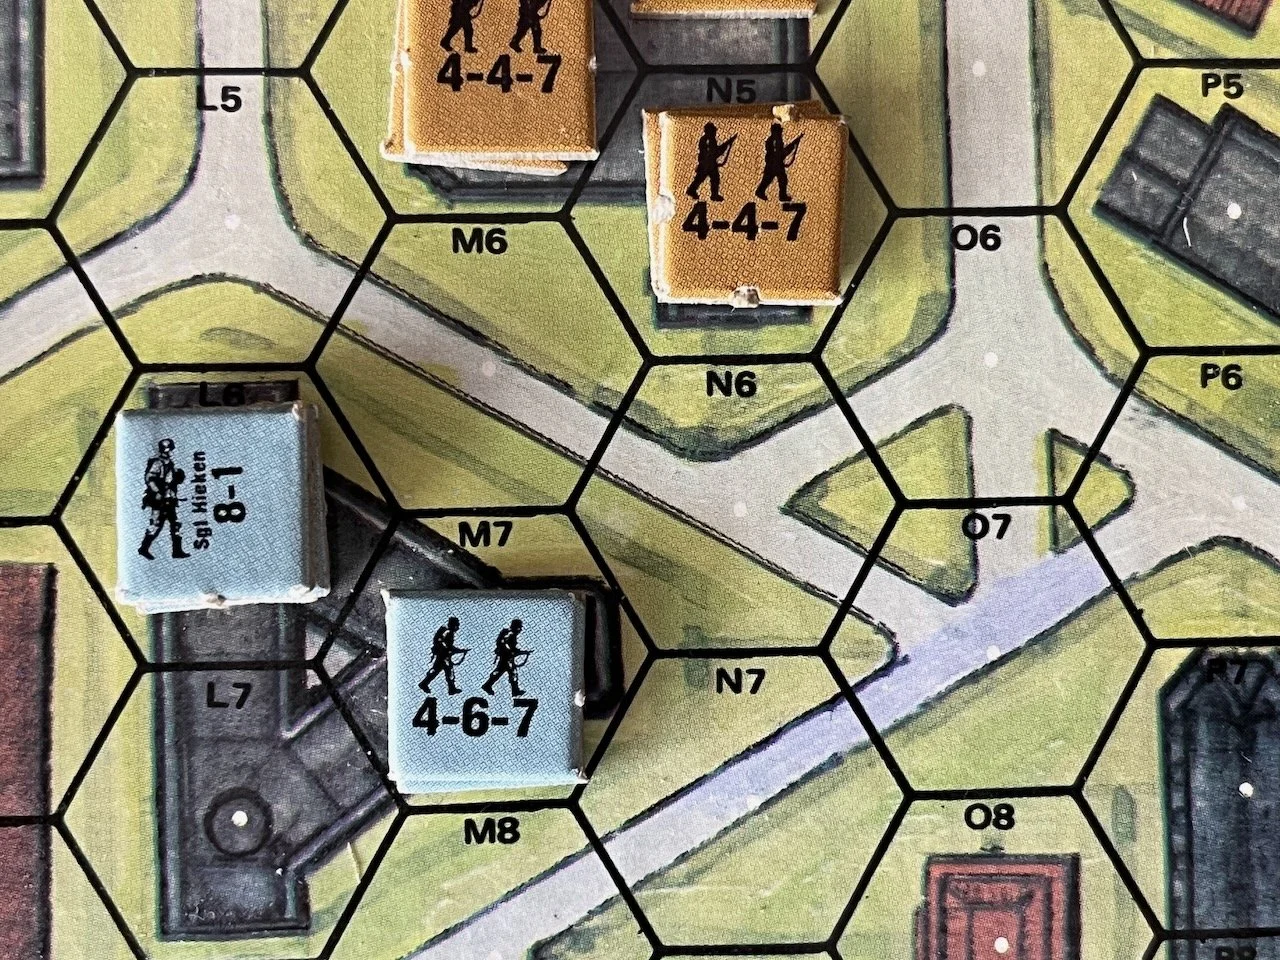
Consider this sequence: The Russians only have one support weapon for this one, and it’s in the hands of an OK commander and a single squad who starts the game at the top of the board. His most obvious job is to direct that gun and make the Germans in the nearest building rethink their whole shit, which his squad does early with some fine gunnery.
The next turn, I rush everyone who I think will survive the first wave of German defensive fire. Commander So-and-So and his squad lug the gun out into the open, practically staring into the windows of a German-occupied building. The German commander in that building mans a light machine gun himself because his squads are all broken. It would normally be a long-odds shot because officers in this game should only jump on a support weapon by themselves if there are no other options, which there aren’t.
But it’s a point blank shot and I’m sitting out in the middle of a road. His volley breaks my one squad. They run back to the house! Leaving So-and-So sitting there with the gun all by himself!
Two can play that game. The Russian officer cusses and racks it up. His point blank Advance Fire kills the broken German squads inside the building. It’s just the officers now. I use my Advance option to push the Russian officer right onto his position, pistol drawn. It comes down to one heads-up roll. My officer is killed. Hopefully the sniveling dipshits who ran away saw the example and will remember their duty to Mother Russia the next time the chips are down.
At the same time this is happening, my 37th Guards take a building to the west at great cost, smashing the forward German position, but immediately coming under heavy fire. Squads are breaking left and right because while they’ve taken the building, they’re now fair game for the Kraut’s well-rested reserve positions, one of whom somehow manages to break or jam all three of their machine guns in the span of a turn. (This gutbuster is probably why I’m still even in this one.)
I still have to take a building to win the scenario and I’m running out of guys to do it with. Just one hard push and it’s a different game, more contact, more lines of sight, more decisions and drama radiating out of every hex.
As this gambit stands now, my Russians are into two buildings, but they’ve fought themselves to depletion in the face of German counterfire — and that superhero German officer who bashed my officer’s head in with a heavy glass ashtray is still in the second building, waiting for another of my commanders to close distance.
What a thrill. What a scene. I love being wrong about stuff.